If you are looking to use multiple versions of PHP with Nginx then in this article we’ll guide you step-by-step on how to install PHP with Nginx on Ubuntu.
This article is in continuation of our series on tutorials about Nginx. So far we have covered how to use Nginx as Load Balancer, How to use Nginx as Reverse Proxy. And now this tutorial covers another demanding question “How to use multiple versions of PHP with Nginx”. In this tutorial, we’ll guide you step-by-step on how to install PHP on ubuntu, how to configure PHP with Nginx, and finally how you can install multiple versions of PHP with Nginx. So, let’s get started!
- Install Nginx
- Install Multiple PHP Versions
- Create Multiple Websites with PHP
- Configure Nginx to Run Different Versions for Websites
- Conclusion
Install Nginx
Nginx (pronounced as “Engine-X”) is an open source web server that is often used as reverse proxy or HTTP cache. It is available for Linux for free.
To install Nginx, use following command:
sudo apt update
sudo apt install nginx
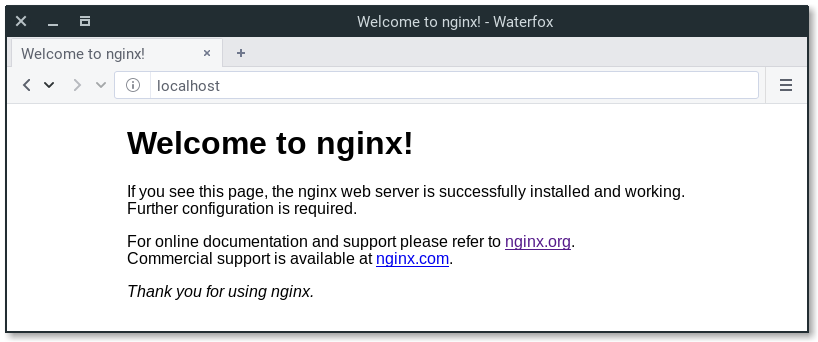
After installation is done you can open “http://localhost” in your browser and you have all setup.
Install Multiple PHP Versions
PHP (recursive acronym for PHP: Hypertext Preprocessor) is an open-source, popular general-purpose scripting language that is widely-used and best suited for developing websites and web-based applications. It is a server-side scripting language that can be embedded in HTML.
Currently, there are three supported versions of PHP, i.e PHP 5.6, 7.0, and 8.0. Meaning PHP 5.3, 5.4, and 5.5 have all reached the end of life; they are no longer supported with security updates. So let’s first Install PHP 7.0 and PHP 7.2 with PHP-FPM.
Actually before we move with installation lets first unders that what is PHP-FPM. PHP-FPM (an acronym of FastCGI Process Manager) is a hugely-popular alternative PHP (Hypertext Processor) FastCGI implementation. PHP-FPM includes numerous features that can prove beneficial for websites receiving traffic in large volumes frequently.
To Install PHP 7.0 and 7.2 first, you will need to add PHP repository to your server to install multiple versions of PHP. You can add Ondrej PHP repository with the following command:
sudo apt-get install software-properties-common -y
sudo add-apt-repository ppa:ondrej/php
sudo apt-get update -y
Once the repository is up to date, install PHP 7.0, PHP 7.2 and PHP-FPM with the following command:
apt-get install php7.0 php7.0-fpm php7.2 php7.2-fpm -y
Once the installation has been completed, check the status of PHP-FPM with the following command:
systemctl status php7.0-fpm
systemctl status php7.2-fpm
Create Multiple Websites with PHP
Default page is placed in /var/www/html/ location. You can place your static pages here, or use virtual host and place it other location
mkdir /var/www/html/site1.containerize.com
mkdir /var/www/html/site2.containerize.com
Next create a sample index.php file for Site1:
vi /var/www/html/site1.containerize.com/index.php
<!doctype html>
<html>
<head>
    <meta charset="utf-8">
    <title>Hello, Nginx! Site1</title>
</head>
<body>
    <h1>Hello, Nginx! Site1</h1>
    <p>We have just configured our Nginx web server on Ubuntu Server!</p>
<?php
phpinfo();
?>
</body>
</html>
Now create a sample index.php file for Site2:
vi /var/www/html/site2.containerize.com/index.php
<!doctype html>
<html>
<head>
    <meta charset="utf-8">
    <title>Hello, Nginx! Site2</title>
</head>
<body>
    <h1>Hello, Nginx! Site2</h1>
    <p>We have just configured our Nginx web server on Ubuntu Server!</p>
<?php
phpinfo();
?>
</body>
</html>
Then, change the ownership of both websites to www-data:
chown -R www-data:www-data /var/www/html/site1.containerize.com
chown -R www-data:www-data /var/www/html/site2.containerize.com
Configure Nginx
Next, you will need to create an Nginx virtual host file for domain site1.containerize.com that uses PHP 7.0. And another for site2.containerize.com that uses PHP 7.2.
vi /etc/nginx/sites-available/site1.containerize.com.conf
Add following lines:
server {
   listen 80;
   root /var/www/html/site1.containerize.com/;
   index index.php;
   server_name site1.containerize.com;
   location / {
      try_files $uri $uri/ =404;
   }
   location ~ \.php$ {
      try_files $uri =404;
      fastcgi_split_path_info ^(.+\.php)(/.+)$;
      fastcgi_pass unix:/var/run/php/php7.0-fpm.sock;
      fastcgi_index index.php;
      fastcgi_param SCRIPT_FILENAME $document_root$fastcgi_script_name;
      include fastcgi_params;
   }
}
Now create the second file for site2.containerize.com
vi /etc/nginx/sites-available/site2.containerize.com.conf
server {
   listen 80;

   root /var/www/html/site2.containerize.com/;
   index index.php;

   server_name site2.containerize.com;

   location / {
      try_files $uri $uri/ =404;
   }

   location ~ \.php$ {
      try_files $uri =404;
      fastcgi_split_path_info ^(.+\.php)(/.+)$;
      fastcgi_pass unix:/var/run/php/php7.2-fpm.sock;
      fastcgi_index index.php;
      fastcgi_param SCRIPT_FILENAME $document_root$fastcgi_script_name;
      include fastcgi_params;
   }
}
Then, enable both virtual host files with the following command:
ln -s /etc/nginx/sites-available/site1.containerize.com.conf /etc/nginx/sites-enabled/
ln -s /etc/nginx/sites-available/site2.containerize.com.conf /etc/nginx/sites-enabled/
Finally, restart Nginx and PHP-FPM service to apply all the configuration changes:
systemctl restart nginx
systemctl restart php7.0-fpm
systemctl restart php7.2-fpm
Conclusion
In this tutorial we explored how to multiple php versions on ubuntu. We learned how to install Nginx. Then we explored how to setup two different websites in nginx. And finally we learned how to configure two different websites with different versions of php with nginx. Hope the tutorial helped you.