Build an online learning platform with open source e-learning platform. This article explains how to use Moodle LMS to create a distance learning site.
We have been afflicted by Covid 19 for over a year. Every part of the world has been placed under lockdown. It has a negative impact on people’s lives and enterprises all over the world. More importantly, it has a major impact on our educational system. Educational institutions have to make the transition to online learning so that students may continue their education from the comfort of their own homes. Without a solid and safe e-learning platform, online learning is impossible. In this article, we’ll look at the Moodle open source project, which enables teachers and students to communicate and learn from anywhere.
We will cover the following sections in this article to create e-learning website using Moodle.
Prerequisites
If you haven’t already, you must have to install and configure LAMP environment on your server.
What is Moodle?
Moodle is a free and open source e-learning solution. Moodle stands for Modular Object-Oriented Dynamic Learning Environment. It was created to give educators, administrators, and learners an e-learning platform to create and deliver individualized learning environments. Further, Moodle is a suitable LMS for schools, universities, and professional training courses in companies. It is one of the popular distance learning solutions to create an LMS website. In addition, Moodle provides teachers and students with rich tools and collaborative learning environments. Moodle has a mobile app for iPhone, Android, and Windows phones and tablets. The mobile app can be used from any location around the world. This self-hosted LMS is written in PHP and stores data in MySQL/PostgreSQL databases. It comes with extensive user and developer documentation. All the source code is available at GitHub. The license for this open source e-learning solution is GPLv3+.
Features of Moodle
Moodle comes with a lot of features. However, in this article, we will go over some of the following key features.
Collaborative tools and activities: Forums, wikis, glossaries, database activities, and other tools allow users to collaborate and learn together. A group of elements in a Moodle course is referred to as an activity. An activity is typically something that a student does in which he or she interacts with other students and/or the teacher.
Track progress: Educators and students can keep track of their progress and completion using a variety of tools for tracking specific activities or materials as well as at the course level. There are several ways to track student progress in Moodle such as Grades, Competencies, Activity completion, Course completion, Badges, Course reports, and Analytics.
Plugins management: Plugins allow you to extend Moodle’s fundamental functionality by adding new features. Users can add plugins for a variety of tasks such as additional activities, new quiz question types, new reports, system connectors, and many more. An admin interface can be used to install and disable plugins.
Course management: Create and manage courses that fulfill a variety of needs. Instructor-led classes, self-paced classes, blended classes, and completely online classes are all options.
Peer and self-assessment: Workshops and surveys are built-in activities that encourage students to view, grade, and review their own and other classmates’ work as a group.
Moodle Installation
Follow the below step-by-step guide to install Moodle LMS on Ubuntu 18.04.
- First, run the commands below to change directlory download and download Moodle.
cd /var/www/
sudo git clone -b MOODLE_38_STABLE git://git.moodle.org/moodle.git moodle
- Run the following commands create data directory and set permissions.
sudo mkdir -p /var/www/moodledata
sudo chown -R www-data:www-data /var/www/
sudo chmod -R 755 /var/www/
sudo chown www-data:www-data /var/www/moodledata
- Create Nginx config file for Moodle site.
sudo nano /etc/nginx/sites-available/moodle
- Add below code into it and save the file.
server {
   listen 80;
   listen [::]:80;
   root /var/www/moodle;
   index  index.php index.html index.htm;
   server_name  example.com;

   client_max_body_size 100M;
   autoindex off;
   location / {
       try_files $uri $uri/ =404;
   }

   location /dataroot/ {
     internal;
     alias /var/www/moodledata/;
   }

   location ~ [^/].php(/|$) {
       include snippets/fastcgi-php.conf;
       fastcgi_pass unix:/run/php/php7.4-fpm.sock;
       fastcgi_param SCRIPT_FILENAME $document_root$fastcgi_script_name;
       include fastcgi_params;
   }
}
- Create symlink to enable newly created site.
sudo ln -s /etc/nginx/sites-available/moodle /etc/nginx/sites-enabled/
- Restart Nginx web server.
sudo systemctl restart nginx
- Next, Open your browser and type http://example.com. Replace “example.com” with the actual domain name or IP of your server.
- Now, you can see the installation wizard. Select a language and click on the Next button.

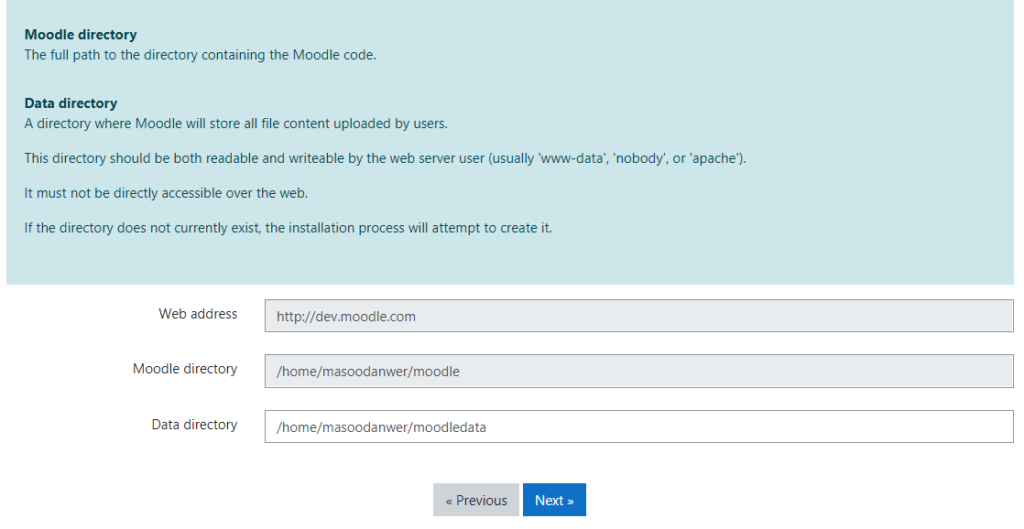
- You need to review and make sure that the Site URL, Moodle root directory, and data directory paths are correct. You can also change the “Data directory” path and it should be outside the Moodle code directory for security. Click on the Next button.
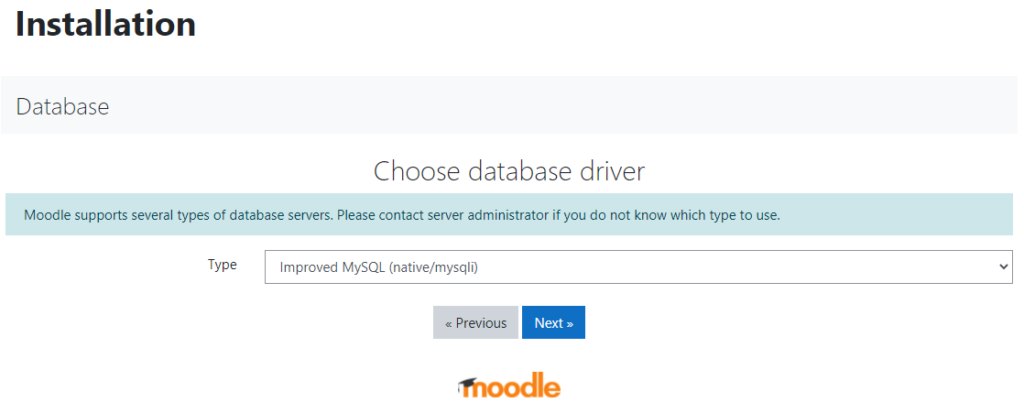
- Choose a database driver in this step. However, you can use the already selected one and click on the Next button.
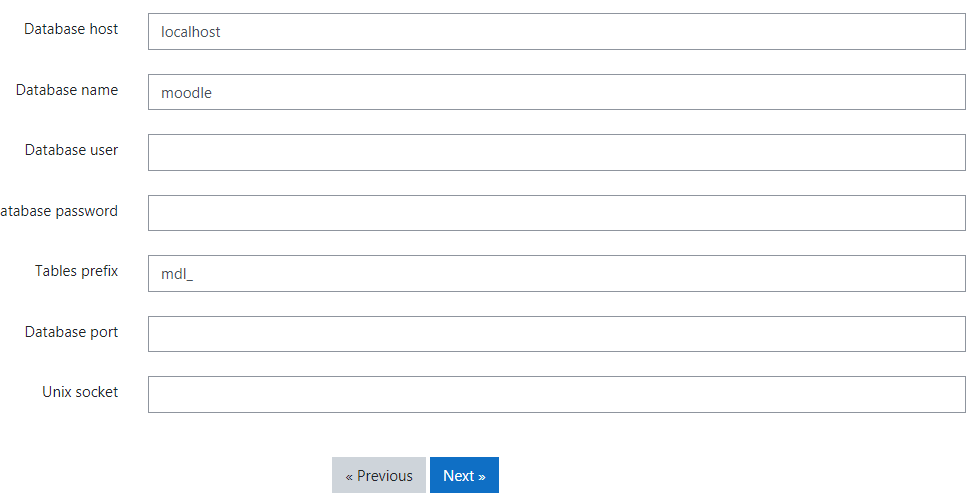
- Provide database settings such as Database host, Database name, Database user, Database password, and Table prefix. Click on the Next button.
- Click on the Confirm button to agree with terms and conditions.
- You can see a list of required PHP extensions. However, you will have to install any missing add-ons. Click on the Continue button to move next step.
- At this point, you need to fill in the administrator data to create an account. Click on the “Update profile” button.
- Provide information for your site such as Full site name, Short name for the site, Frontpage summary, Default timezone, and no-reply email. Click on the “Save Changes” button.
- Complete your site registration by providing information such as site name, language, region, email address, etc.
Conclusion
We learned about Moodle and its main features in this article. We also went over a step-by-step approach for setting up Moodle LMS to create e-learning website. You can review Moodle’s official documentation to become more comfortable with various functions such as courses, student registration, tracking progress, and so on. I hope you found this post useful in creating an LMS website.
Finally, containerize.com is in a consistent process of writing blog posts on further latest open source products. Therefore, stay in touch with this Learning Management System category for the latest updates.
Explore
You may find the following links relevant: