Configure open source Gatsby with your WordPress to bring greater user experience and overall performance. Let’s learn how to use this static site generator.
Overview
GatsbyJS is a free and open source React-based, GraphQL powered static site generator. It uses powerful pre-configuration to build a website that uses only static files for incredibly fast page loads. WordPress is a great open source blogging platform. As a result, there’s a lot of people who know how to figure out if a site is a WordPress site so they can hack it and steal information. Using Gatsby WordPress together will give you the same power of the WordPress content management and speed of the Gatsby.
In this article, we’ll look at what Gatsby is and why you need to use it with CMS software. Then, we’ll go into detail on how to use WordPress and Gatsby together to build an amazing website experience. Lets Start!
- What is Gatsby?
- Pros and Cons of Using WordPress and Gatsby
- How to use Gatsby with WordPress
- Conclusion
What is Gatsby
Gatsby is a static site generator. This means that Gatsby generates the static HTML files that are uploaded to your website’s server. When a visitor lands on your site, these static files are served to their browser, instead of the dynamic content WordPress generally serves. It is a free and open source framework based on React that helps developers build blazing-fast websites and apps.
Pros and Cons of Using WordPress and Gatsby
As per Gatsby’s official documents, they have compiled a table, for whom the combination of Gatsby WordPress is great and for whom it’s not. For the sake of ease, I’m listing those here.
WordPress and Gatsby is great for
<ul>
  <li>
    Content teams who are comfortable with the WordPress content editing experience
  </li>
  <li>
    Development teams who value using popular, open-source technologies
  </li>
  <li>
    Redesigns of sites with content already stored in WordPress
  </li>
  <li>
    Teams who want to own their data and tech stack
  </li>
  <li>
    Complex access control workflows or content modelling restrictions
  </li>
  <li>
    Projects where security is important
  </li>
  <li>
    High demand projects where performance is paramount
  </li>
</ul>
WordPress and Gatsby is not great for
<ul>
  <li>
    Teams requiring the use of WordPress UI themes
  </li>
  <li>
    Those looking for a fully managed cloud CMS
  </li>
</ul>
Besides these official points, I’ll like to list down some Pros and Cons of using Gatsby WordPress together
Pros
<ul>
  <li>
    <strong>Faster load speeds</strong> – Static websites load faster than dynamic. As a result, it impacts your page loads speeds and SEO ranking.
  </li>
  <li>
    <strong>Less server costs</strong> – Since static files need no special softwares hence static html pages can be served from a cheaper servers as well.
  </li>
  <li>
    <strong>More secure</strong> – For static sites, there are no moving components of parts hence no chance for hackers to exploit your software.
  </li>
</ul>

<p>
</p>
Cons
<ul>
  <li>
    <strong>Learning Curve</strong> – It requires additional skills for the developers. Like learning ReactJS and GraphQL
  </li>
  <li>
    <strong>Only static content</strong> – If you need to serve any dynamic content. Then Gatsby isn’t for you. It can only server static files. Hence, you can not have any commenting system which fetches the data from database.
  </li>
</ul>
How to use Gatsby with WordPress
Before you can install Gatsby, you need to install NodeJS and npm in your website environment.
Step 1 – Install Gatsby
npm install -g gatsby-cli
This command runs the installer automatically. It downloads and installs all dependencies before installing Gatsby. Once that’s complete, you can start creating your first Gatsby website.
gatsby new gatsby-site
This will download the Gatsby’s starter template and place it in the directory /gatsby-wordpress. Once the installation is complete, you can open the development version of the site
gatsby develop
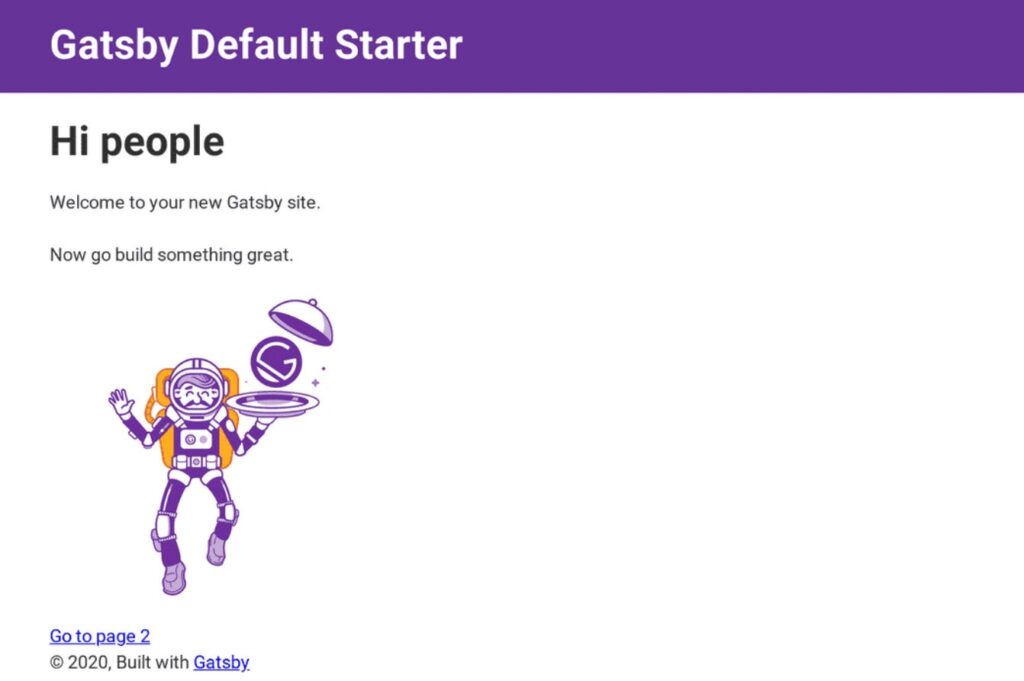
Now, in your web browser, enter http://localhost:8000 and your default template should open.
Step 2 – Connect Gatsby to WordPress
In this section of the Gatsby WordPress guide, we will connect this static site generator with WordPress. You have a basic static website, but you need to integrate it with WordPress. This points your Gatsby site to the address of your WordPress blog, enabling it to pull the latest data when you run the development server. Once connected, Gatsby will build a static website based on your current template.
Install the Gatsby Source WordPress plugin from the npm repository.
npm install gatsby-source-wordpress
Step 3 – Configure Gatsby
Put the following code in your gatsby-config.js file
module.exports = {
  ...
  plugins: [
    ...,
    {
      resolve: `gatsby-source-wordpress`,
      options: {
        // your WordPress source
        baseurl:  `wpexample.com`,
aliases: -  `wpexample.com`,
        protocol: `https`,
        // is it hosted on wordpress.com, or self-hosted?
        hostingWPCOM: false,
        // does your site use the Advanced Custom Fields Plugin?
        useACF: false
      }
    },
  ]
}
Update this code to point to your WordPress website. If your website is locally hosted, after baseUrl you can use localhost:8888/wordpress instead of your website’s URL. After saving the file, you’ll need to build your page templates.
Step 4 – Build Page Templates
Building page templates enable this site generator to generate a post for every page on your WordPress website. The source plugin will pull the data you need from WordPress for these pages, but you’ll have to create the design template.
In your gatsby-node.js file, add the following code
const path = require(`path`)
const { slash } = require(`gatsby-core-utils`)
exports.createPages = async ({ graphql, actions }) => {
  const { createPage } = actions
  // query content for WordPress posts
  const result = await graphql(`
    query {
      allWordpressPost {
        edges {
          node {
            id
            slug
          }
        }
      }
    }
  `)
  const postTemplate = path.resolve(`./src/templates/post.js`)
  result.data.allWordpressPost.edges.forEach(edge => {
    createPage({
      // will be the url for the page
      path: edge.node.slug,
      // specify the component template of your choice
      component: slash(postTemplate),
      // In the ^template's GraphQL query, 'id' will be available
      // as a GraphQL variable to query for this posts's data.
      context: {
        id: edge.node.id,
      },
    })
  })
}
After calling all the data, Gatsby will generate a page for each post. Using the develop command, you can navigate to each new page using the generated URL.
Conclusion
In this Gatsby WordPress tutorial, we covered how to generate a Gatsby website from WordPress. We learned what are the pros and cons of these two open source software. We also covered how to install and get starting with the Gatsby development environment.
Finally, containerize.com is writing articles on further open source products. Therefore, please stay in touch with the open source Blogging platform category for regular news and updates.